Digitize Image for Brother Embroidery: What You Need to Know
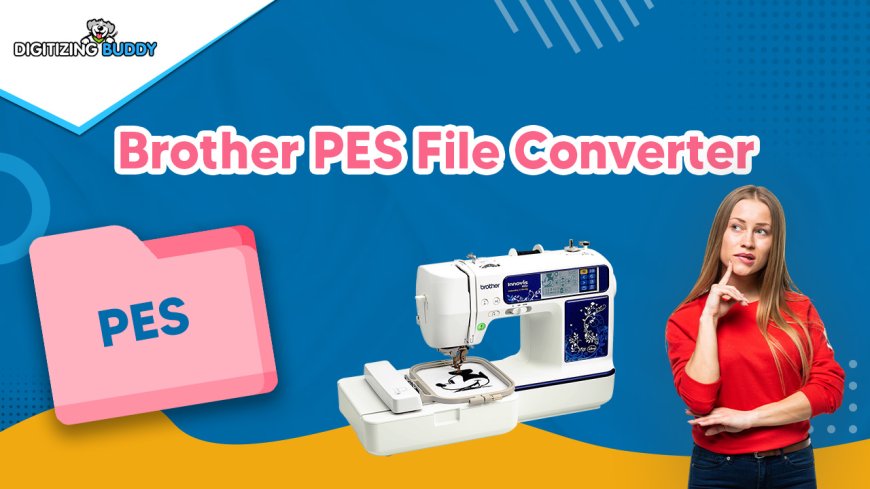
If you own a Brother embroidery machine, you've probably discovered that not all image files can go straight from your computer to your hoop. That logo, family photo, or custom design needs to be digitized firstconverted into a language your Brother machine understands. Whether you're a small business owner creating branded merchandise or a hobbyist personalizing gifts, learning how to properlydigitize images for Brother embroidery machines opens up endless creative possibilities.
Why Brother Machines Need Specialized Files
Brother embroidery machines use proprietary file formats like PES, which contain all the stitch information needed to recreate your design. Unlike regular image files (JPEG, PNG, etc.) that just show colors and shapes, embroidery files tell the machine:
- Exactly where to place each stitch
- What color thread to use and when to change
- The stitch type and direction for every element
- The optimal speed and tension settings
This is why you can't just drag a JPEG into your machine and expect perfect resultsthe conversion process requires specialized software and some know-how.
The Digitizing Process Explained
Converting an image to a Brother-compatible embroidery file involves several key steps:
- Image Preparation
Start with a clean, high-contrast image. Simple vector graphics or logos with bold lines work best. Complex photos may need simplification before digitizing. - Choosing Your Software
You have several options:
- Brother's PE-Design(official software, user-friendly but pricey)
- Free alternativeslike Ink/Stitch (Inkscape extension)
- Online conversion services(quick but less control)
- Professional digitizing services(best for complex designs)
For Brother machines specifically, you'll need to:
- Select PES format (or check which formats your specific model accepts)
- Set the maximum embroidery area (varies by machine model)
- Adjust for Brother's default thread tension
This is where the real artistry happens:
- Converting solid areas to appropriate fill stitches
- Outlining elements with satin stitches
- Adding underlay stitches for stability
- Sequencing color changes efficiently
Always stitch out a test on scrap fabric to check for:
- Thread breaks or tension issues
- Puckering or distortion
- Color blending problems
Top Mistakes to Avoid
Even experienced embroiderers make these common digitizing errors when preparing files for Brother machines:
Using the Wrong File Format
Not all Brother machines accept the same formats. While most modern models use PES, some may require DST or EXP. Always check your manual.
Ignoring Size Limitations
Each Brother machine has a maximum embroidery area:
- PE800: 5" x 7"
- SE1900: 5" x 7"
- Smaller models may only handle 4" x 4"
Trying to stitch a design larger than your hoop size will result in errors.
Overlooking Fabric Considerations
A design digitized for denim won't stitch well on stretchy knit fabric. Always consider:
- Stitch density (less for stretchy fabrics)
- Underlay type (more for unstable fabrics)
- Pull compensation (extra for materials that shift)
Skipping the Test Stitch
That perfect-looking digital preview might hide tension issues or other problems. Always test before stitching on your final project.
Brother-Specific Tips and Tricks
After digitizing thousands of designs for Brother machines, professionals swear by these techniques:
Use Brother's Built-in Designs as References
Study how Brother's preloaded designs handle:
- Stitch sequencing
- Jump stitches
- Thread trimming
Then apply similar logic to your custom designs.
Leverage the Thread Trimmer
Many Brother models have automatic trimmers. Program clean trim points in your digitizing to minimize manual cleanup.
Mind the Bobbin
Brother machines are particular about bobbin tension. If you see:
- Loops on top: Tighten upper tension
- Loops underneath: Tighten bobbin slightly
Take Advantage of USB Connectivity
Newer Brother models accept USB files directly. For older machines, you might need:
- Special memory cards
- The Brother PED-Basic software to transfer designs
Free vs. Paid Digitizing Options
Free Solutions
Ink/Stitch with Inkscape
- Pros: Completely free, works with Brother formats
- Cons: Steep learning curve, manual adjustments needed
Online Converters
- Pros: Quick and easy
- Cons: Often poor quality, limited editing options
Paid Software
Brother PE-Design
- Pros: Optimized for Brother machines, good support
- Cons: Expensive, some versions lack advanced features
Hatch Embroidery
- Pros: Professional-grade tools, supports PES
- Cons: Subscription model, overkill for beginners
Professional Digitizing Services
- Cost: $10-$50 per design
- Best for: Complex logos or when quality is critical
The Future of Brother Embroidery Digitizing
Brother continues innovating with:
- Wireless design transfersvia apps
- Auto-digitizing featuresin newer software
- Improved built-in editingon touchscreen machines
Yet the fundamentals remainunderstanding stitch types, fabric behavior, and your specific machine's capabilities will always be essential.
Getting Started with Your First Design
Ready to digitize your first image for your Brother machine? Here's a simple workflow:
- Choose a simple, high-contrast image (a bold logo works well)
- Clean it up in graphic software if needed
- Import to your digitizing program
- Trace outlines and assign stitch types
- Set proper density and underlay
- Export as PES (or your machine's format)
- Stitch a test on similar fabric
- Adjust and repeat until perfect
Remember: Even professionals rarely get it perfect on the first try. Each test stitch teaches you more about how your Brother machine interprets files.
Final Thoughts
Digitizing images for Brother embroidery machines might seem technical at first, but it's an incredibly rewarding skill to master. Whether you opt for DIY software or professional digitizing services, understanding the process helps you troubleshoot issues and achieve better results.
The key is starting simple, being patient with the learning curve, and always testing your designs. Before long, you'll be turning any image into flawless embroidered creations with your Brother machine.
Now that you know what's involved, what will you digitize first? Your company logo? A favorite pet photo? The possibilities are limited only by your imaginationand maybe your current thread collection!


