How to Make a PXF File from Your Design Artwork
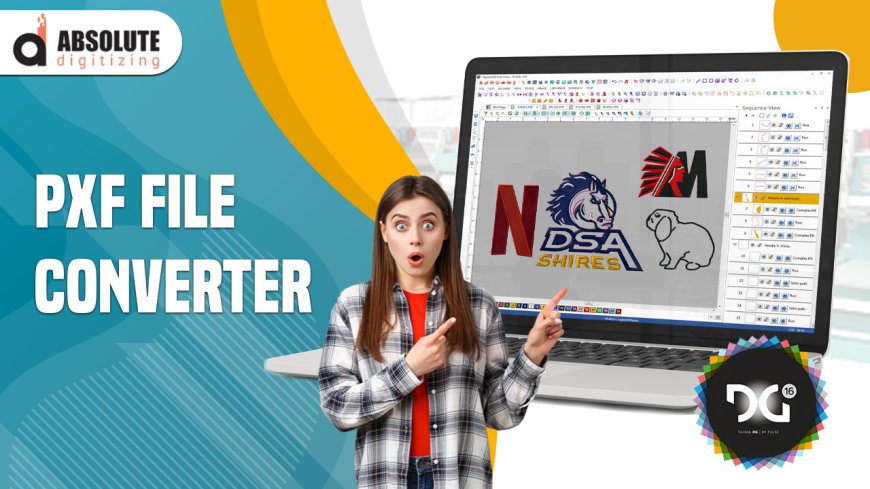
You've spent hours perfecting your designwhether it's a company logo, custom artwork, or a personal creationand now you want to bring it to life through embroidery. If you own a Pfaff embroidery machine, you'll need to convert your design into a PXF file, the proprietary format that Pfaff machines understand. This isn't just a simple file conversion; it's a translation process that turns your flat artwork into a set of instructions telling the machine exactly how to stitch your design. Let's walk through how to make a PXF file to get professional-looking results.
Understanding the PXF File Format
PXF files are more than just embroidery designsthey're intelligent files that contain:
- Stitch-by-stitch instructions(exact needle placement)
- Thread color information(including Pfaff's specific color codes)
- Machine commands(trims, jumps, and sequencing)
- Hoop positioning data(for perfect placement)
- Specialty stitch information(like 3D effects if applicable)
Unlike generic formats, PXF files can include Pfaff-specific features that take full advantage of your machine's capabilities. That's why simply converting to a more common format like DST or PES often won't give you the same quality results on Pfaff machines.
Preparing Your Artwork for Conversion
Before you even open your digitizing software, your design needs proper preparation:
Clean Up Your Design
- Vector files (AI/EPS)work bestthey scale perfectly without quality loss
- Raster images (JPG/PNG)need to be high-resolution (300dpi minimum)
- Simplify complex elementsremove unnecessary details that won't stitch well
- Limit your color palette6 thread colors or fewer works best for beginners
Design Considerations for Embroidery
- Minimum line thickness:1.5mm for satin stitches, 3mm for fill areas
- Text requirements:Sans-serif fonts work better below 1/4" height
- Space between elements:At least 1mm to prevent merging when stitched
I recently worked with a bakery that had a beautiful watercolor-style logo. For embroidery, we created a simplified version that kept their brand identity while working within the constraints of threadthe result was stunning and actually more versatile for their various applications.
Choosing Your Digitizing Method
Option 1: Pfaff's Built-In Software
- Pros:Perfect compatibility, designed specifically for Pfaff machines
- Cons:Can be expensive, steep learning curve
Option 2: Professional Digitizing Services
- Pros:Expert results, saves time, handles complex designs
- Cons:Costs $25-$100 per design
Option 3: Third-Party Software
- Wilcom Hatch:Industry standard (expensive but powerful)
- Embrilliance:More affordable with good Pfaff support
- SewArt:Budget option for simple designs
Option 4: Online Converters
- Pros:Quick and easy
- Cons:Limited control, often poor quality for complex designs
Step-by-Step PXF Creation Process
1. Import Your Design
Open your artwork in your chosen software. For best results:
- Use the "Trace" function for clean vector conversions
- Set your canvas size to match your intended embroidery dimensions
- Check that all elements are properly connected
2. Assign Stitch Types
- Fill stitches:For large solid areas (set density to 0.4mm for most fabrics)
- Satin stitches:For borders and text (width 1.5-4mm depending on size)
- Running stitches:For fine details and outlining
3. Set Your Underlay
This hidden foundation prevents distortion and improves quality:
- Edge run:For outlines and borders
- Zigzag:Under large fill areas
- Center run:General purpose stabilization
4. Adjust for Fabric Type
Different materials need different approaches:
|
Fabric
|
Key Adjustments
|
|
Cotton
|
Standard settings
|
|
Knit
|
More underlay, less density
|
|
Denim
|
Longer stitches, heavier thread
|
|
Towels
|
Special gap settings
|
5. Sequence Your Stitches
Proper sequencing:
- Minimizes thread trims
- Reduces jumps between sections
- Prevents fabric distortion from too many stitches in one area
6. Test Stitch
Always stitch on:
- The actual fabric you'll be using
- With your chosen stabilizer
- Using your production thread
Check for:
- Puckering (reduce density)
- Thread breaks (adjust tension)
- Distortion (add pull compensation)
7. Save as PXF
When satisfied:
- Select "Save As"
- Choose .PXF format
- Select the correct version for your Pfaff model
- Save to USB or transfer directly
Pro Tips for Perfect PXF Files
?Start with simple designsto learn the process
?Use Pfaff's color chartfor perfect thread matching
?Create size variationsrather than scaling one file
?Save multiple versionsas you make adjustments
?Document your successful settingsfor future projects
Common Problems (And How to Fix Them)
Problem:Corners look rounded
Solution:Add corner stitches, increase pull compensation
Problem:Fabric puckers
Solution:Reduce density, use heavier stabilizer
Problem:Thread breaks constantly
Solution:Check needle size, reduce stitch density
Problem:Design looks different stitched than on screen
Solution:Always test stitchscreen previews aren't perfect
When to Call in the Pros
Consider professional digitizing when:
- Your design has small text (under 1/4")
- Brand colors must match exactly
- You're using specialty fabrics
- Production quantities make quality critical
A hotel chain I worked with saved thousands by having their logo professionally digitizedit stitched perfectly on everything from staff polos to executive blazers.
The Future of PXF Files
New developments are making this easier:
- AI-assisted digitizingthat learns your preferences
- Cloud-based servicesfor instant PXF conversion
- AR previewsshowing how designs will stitch
- Smart filesthat auto-adjust for different fabrics
One new Pfaff feature even suggests optimal settings based on scanned fabricthe machine essentially digitizes for you.
Your PXF Creation Checklist
Before starting:
? Have high-quality artwork ready
? Know your target fabric(s)
? Choose your digitizing method
? Gather all necessary threads
? Prepare for multiple test stitches
Remember: Creating perfect PXF files is both an art and a science. Your first attempts might not be flawless, but each project will teach you valuable lessons. With practice, you'll be able to look at any design and know exactly how to prepare it for embroidery.
Now it's your turngrab that design you've been wanting to stitch, fire up your software, and start creating. Your Pfaff machine is waiting to bring your artwork to life in thread, one perfectly planned stitch at a time.


